 Save to Pinterest
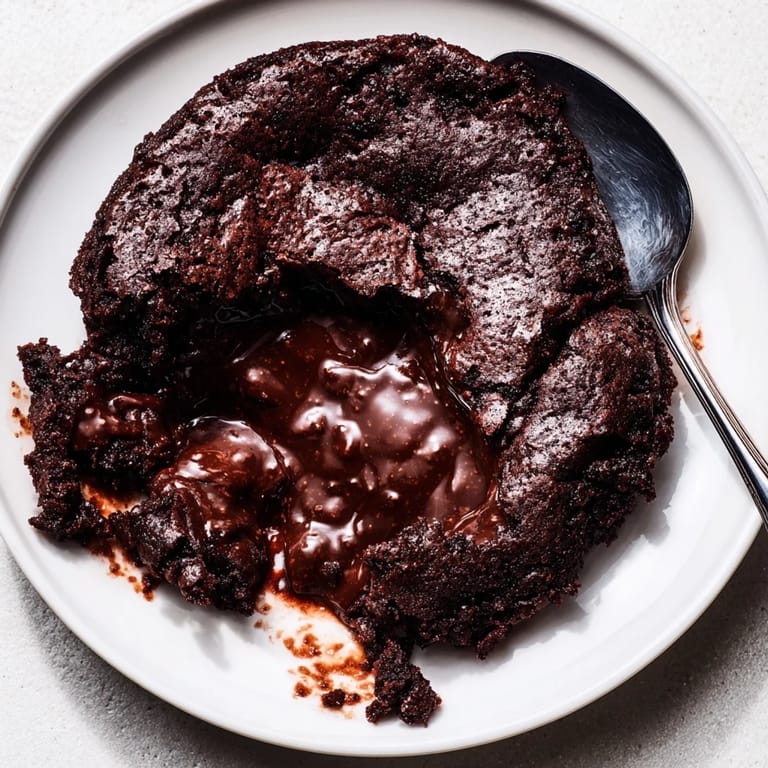
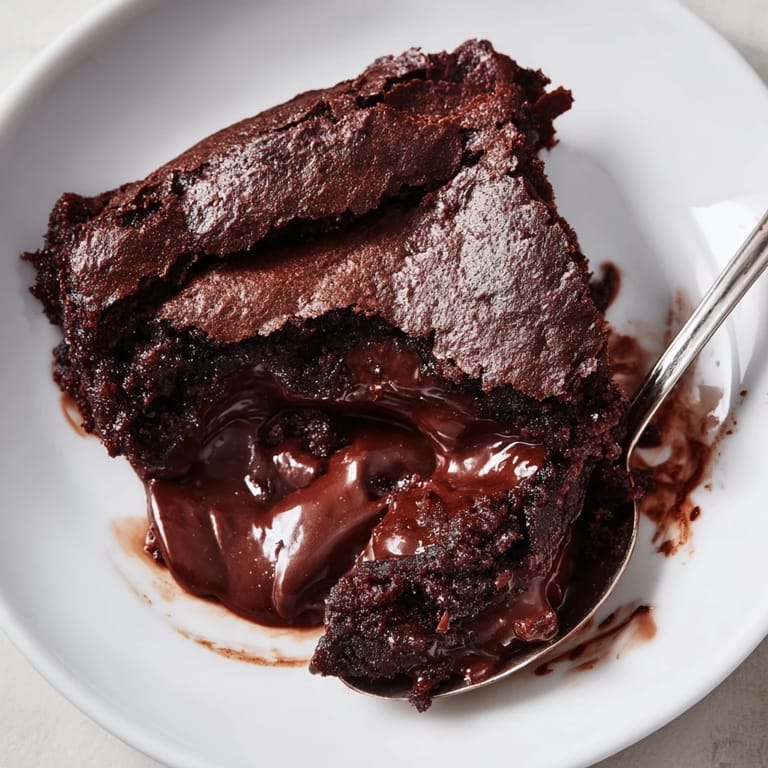
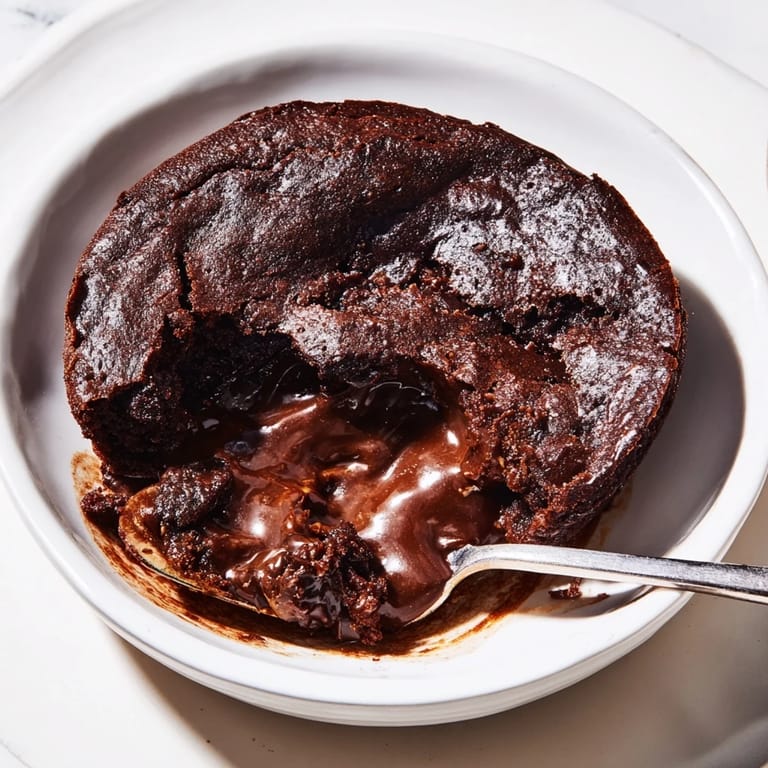
 There's something about a dessert that transforms right before your eyes that feels almost magical. Years ago, I brought this brownie pudding to a dinner party, thinking I'd made a timing mistake because the center seemed impossibly soft when I pulled it from the oven. But when I spooned into it at the table, that contrast between the crackly, fudgy top and the warm molten center made everyone go quiet for a moment. It's become the dessert I return to whenever I want to impress without fussing endlessly.
My sister called it my secret weapon for last-minute entertaining. Once, when she showed up unannounced with her new partner, I had this in the oven within 20 minutes, and by the time we'd finished appetizers and the main course, it was perfectly set and ready to serve. The look on their faces when they realized what was happening inside that baking dish made the whole evening feel special in a way a store-bought dessert never could.
Ingredients
- Unsalted butter (225 g): The foundation that carries flavor and creates that rich crumb structure; use good quality butter since there aren't many ingredients competing for attention here.
- Semisweet chocolate, chopped (170 g): Melted together with the butter, it builds the deep chocolate base; chopping it yourself melts faster and more evenly than chips.
- Large eggs, room temperature (4): These get beaten with sugar until pale and fluffy, trapping air that keeps the texture tender; cold eggs won't whip up properly.
- Granulated sugar (400 g): Works with the eggs to create that signature ribbon texture when beaten, which contributes to the crackly top.
- All-purpose flour (65 g): Just enough to give structure without making it cakey; sift it with the cocoa to avoid lumps.
- Unsweetened cocoa powder (2 tbsp): Adds chocolate intensity without extra fat; sift it carefully so it distributes evenly.
- Vanilla extract (2 tsp): Deepens the chocolate flavor and adds subtle warmth.
- Kosher salt (1/4 tsp): Brings out the chocolate's complexity and balances the sweetness.
- Vanilla ice cream or whipped cream (optional): The contrast of cold against warm is essential to the experience.
Tired of Takeout? 🥡
Get 10 meals you can make faster than delivery arrives. Seriously.
One email. No spam. Unsubscribe anytime.
Instructions
- Heat and melt:
- Set a heatproof bowl over simmering water and add the butter and chopped chocolate together, stirring occasionally until completely smooth. This gentle heat prevents the chocolate from seizing.
- Beat the egg and sugar base:
- In your mixer bowl, combine the room-temperature eggs and sugar, then beat on medium-high for 5 to 10 minutes until the mixture transforms into a thick, pale ribbon that falls in ribbons when you lift the beaters. This step is crucial for creating lift and that characteristic crackly surface.
- Combine wet ingredients:
- Once the chocolate has cooled slightly, pour it into the egg mixture along with vanilla and salt, then mix on low speed just until you don't see any streaks of chocolate. Overmixing here deflates all that hard-won air.
- Fold in the dry ingredients:
- Sift the flour and cocoa powder together directly over the batter, then use a spatula to fold gently until just combined. The batter should look thick and fudgy, not overmixed.
- Set up the water bath:
- Pour the batter into a buttered 2-quart baking dish, then place that dish inside a larger roasting pan. Pour hot tap water into the outer pan until it reaches halfway up the sides of the baking dish, creating an insulating water bath that keeps the edges from cooking too fast.
- Bake with confidence:
- Bake at 325°F for exactly 1 hour; the top should look set and crackly while the very center still jiggles almost imperceptibly when you gently shake the pan. This contrast is the whole point.
- Cool briefly before serving:
- Let it rest for at least 15 minutes so the edges set up enough to hold together when you spoon into it, but it's still warm enough that the center stays molten.
 Save to Pinterest
 I still remember the first time someone asked for the recipe, and when I explained that the center was supposed to be nearly liquid, they looked at me like I'd lost my mind. But then they tried it, and that's the exact moment this dessert stopped being just something I made and became something people actually requested. It's one of those rare dishes that defies the rules and somehow becomes even more special because of it.
The Water Bath Secret
The water bath is the difference between a brownie pudding and just a weird underbaked brownie. It surrounds the baking dish with gentle, even heat that keeps the edges from setting up too firmly while the center stays tender. I learned this the hard way by trying to skip it once, and the result was overcooked edges and a center that baked all the way through. The water bath feels like extra work, but it's honestly the most foolproof way to nail this every single time.
Timing and Temperature Matter
The lower oven temperature of 325°F is intentional; it gives everything time to cook evenly without rushing. At higher temperatures, you'll end up with overdone edges before the center has a chance to set up just right. I used to turn my oven up to speed things along, and every time, I'd end up with something that didn't have that perfect contrast. The one-hour bake time might feel long, but it's built into the whole rhythm of this dessert.
Variations and Personal Touches
Once you understand the basic formula, there's room to play. I've made it with bittersweet chocolate for a more sophisticated dinner party, added a pinch of espresso powder to deepen the cocoa notes, and even tried a dash of cinnamon, which added an unexpected warmth. The structure of the dessert stays the same; you're just shifting the flavor profile to match the mood.
- For deeper chocolate flavor, use bittersweet chocolate or add a small pinch of espresso powder to the batter.
- A light dusting of fleur de sel on top just before serving adds a subtle sophistication.
- Serve it warm with vanilla ice cream or lightly sweetened whipped cream for maximum contrast and pleasure.
 Save to Pinterest
 This dessert has become my answer to the question of what to bring when I want people to remember the meal. It's elegant enough for special occasions but simple enough that you're not stressed in the kitchen when you should be enjoying your guests.
Recipe FAQs
- → How is the molten center achieved?
The dessert is baked in a water bath which ensures gentle, even cooking to create a crackly top while keeping the center soft and pudding-like.
- → What chocolate works best for rich flavor?
Semisweet chocolate provides a balanced sweetness, while bittersweet chocolate can deepen the flavor if preferred.
- → Can this dessert be served cold?
It's ideal served warm to enjoy the contrast of a crisp top and molten center, but it can be chilled for a firmer texture though some softness may be lost.
- → Why is it important to whip the eggs and sugar thoroughly?
Whipping creates a thick, pale, ribbon-like mixture which helps develop the airy texture and structure essential for the final dish.
- → What accompaniments pair well with this dessert?
Vanilla ice cream or lightly sweetened whipped cream complement the rich chocolate flavors and enhance the overall indulgence.